Film Opening
Hey everyone! Here's the link to the final film opening!
Creative Critical Reflection
Hey everyone! Below are the links to both media products of the CCR!
Reflecting
Hey everyone! I am back with more progress updates on the Cambridge Portfolio Project, as I have finished up the Creative Critical Reflection. I decided to take a moment to reflect on the whole process of working through the Film Opening and the Creative Critical Reflection. I want to start by saying that I have learned so much throughout this process; I learned some valuable lessons and learned more about myself along the way. I will now be talking about the 2 very valuable lessons that I learned.


This made us lose a lot of time that we could not get back, which honestly was a bummer, since losing so much time is something that we could have prevented. However, I am just thankful that we at least checked the shots at some point in the production process. However, we now know that we must take trial runs to make sure that everything about the shot is okay.
Anyways, those were the two main lessons that I learned while working through this project, and I hope that you all learned something from my experiences, and make sure not to repeat my mistakes! This was definitely a long yet meaningful journey, but I am glad that I managed to learn so much from this. This chapter is finally ending, but that does not mean it is completely over! I still have to share with you all my final film opening and CCR, which will be in my next update.
So, stay tuned for my next update!
CCR: Production/ Postproduction
Hey everyone! Today marks the wrap up day for the CCR! I will be going through both the production and editing process for both media products of the CCR. So, let's get started!


CCR: Current Progress
Hey everyone! I am back with a progress update on my CCR. So, as you may remember, I chose to do a presentation with a voiceover, and then an interview that is self-run, like a Q and A session. So, I will first be talking about the approach to begin working on the CCR, and then how I began working on the actual two media products, and then what my next step would be.


CCR: Group Meetings
Hey everyone! I am back with an update on my Creative Critical Reflection. So, as you all know, I have had some doubts on what two media products I should choose to create my CCR. Well, I am pleased to say that I have officially chosen my two options, and I have chosen them with the help of a group meeting that my AICE Media Studies teacher created in class today.
Creative Critical Reflection: Plan
Hey everyone! I am back with an update for the Cambridge Portfolio Project, as I will be moving from the Film Opening Project to the Creative Critical Reflection (CCR). So, starting now, my main focus will be the CCR, and I have been using my notes that I took in my AICE Media Studies class on the CCR, which I have put below for reference...


The Editing Process
Hey everyone! I am back with an update on me and Natalia's journey through the film opening project. Right now, we have just finished a very important step that brings all of the shots we have together, the editing process! Just a reminder, me and Natalia filmed all of the shots with her iPhone, and we edited everything on her iPhone using the app, Cap Cut. So, let me begin bringing you all along through this process.


“Free Music for Creators.” Uppbeat.io, uppbeat.io/?rt=ppc_bing_search_general_usa&utm_source=bing&utm_medium=cpc&utm_campaign=search_general_usa&utm_content=&utm_term=copyright%20free%20music&msclkid=b5d57820d69b19e303d21c3bbb816e2a. Accessed 22 Mar. 2023.
The Final Shots
Hey everyone! I am back to fill you all in with the progress of me and Natalia's film opening project. This is officially the last thing that me and Natalia had to do in terms of the production process. So, right after this, we will be jumping straight into the editing process. But for now, I will be explaining how we went about filming the last three shots.

Editing Software Options: Which One to Choose?
Hey everyone! I am back with another update of me and Natalia's journey though the film opening project. I realized that I had never talked much about editing, specifically on which platform we will be using. So, for this post, I wanted to walk you all through our original choices, our thought process along the way, and the final decision.


Thinglink. “Adobe Premiere pro Was Used in Post-Production for the Ed...” Www.thinglink.com, www.thinglink.com/scene/904356246851682307. Accessed 20 Mar. 2023.
“IMovie App Logo - LogoDix.” Logodix.com, logodix.com/imovie-app. Accessed 20 Mar. 2023.
Service, App Customer. “Popular Photo Video Applications.” App Customer Service!, appcustomerservice.com/category/6008/photo-video. Accessed 20 Mar. 2023.
Production: Part 2 (Filming)
Hey everyone! I am back with more updates on me and Natalia's journey towards the film opening project, and I will be specifically talking about the filming process after setting up everything. However, before I begin, I would like to clarify that we did film lots of shots for the film opening, but I won't have to many visual examples to show due to some technical issues I have been dealing with on my part (since we filmed on Natalia's iPhone, a very new and high quality phone, none of my devices can support the quality, so I was not able to transfer many examples on to my devices).


Production: Part 1 (The Set Up)
Hey everyone! I am back with some huge updates on me and Natalia's journey towards the Film Opening Project. So, we finally got to shoot the film opening this week, making me feel much more relief for how on time we are for our schedules. The reason why it took us a while before we could film was due to the limited vacancy for our location, being the school's auditorium. For reference, below is a photo we took of a part of the auditorium.

While this picture is not a screenshot of the actual film opening, it's just a picture we took to test out which angle would work best for the film opening to really capture the size of the auditorium (even though not all of the auditorium was captured in this photo, it's just for reference!) In the picture is actually Natalia, as she took the role of playing the main character of the film opening (Stella).
The first step we took was to play around with shots and angles that were outside of the storyboard, just to brainstorm any possible ideas that may be better than the original ones. However, not too many changes were made outside of the storyboard, since we were already satisfied with the storyboard. Unfortunately, we ran into yet another issue, which actually involves the storyboard. Originally, we had plans on including the family members of Stella, to hint more towards their family dynamic before the actual film were to begin.
Unfortunately, due to some scheduling conflicts between our filming times and those of the actors that would play the family, we had to reduce the film to being just on Stella. However, we didn't let this break down our plan and moved on to continue planning exactly how these shots would be filmed. One challenge that led us to spend so much time organizing the shits was due to the lighting. Even though we did consider how the lighting in the auditorium would look like during the filming, we expected it to be a lot brighter than it actually was.
Even though we were a bit disappointed with the lighting at first, we decided to play around with the shots and angles of each scene to make the lighting look its best. While this isn't the ideal situation for a production, me and Natalia took this as a learning experience to consider every variable of the production process and have our back up plans. So, we continued on testing the shots, which took quite a while to get together.

Here's a photo of me and Natalia trying to figure out what shot would be best for a particular scene (we asked Natalia's mom to take some photos of us working, so this was one of them!)
So, after playing around with the shots and angles, we had to begin setting up the auditorium itself to fit our needs...

Production Process for Bedroom Scenes
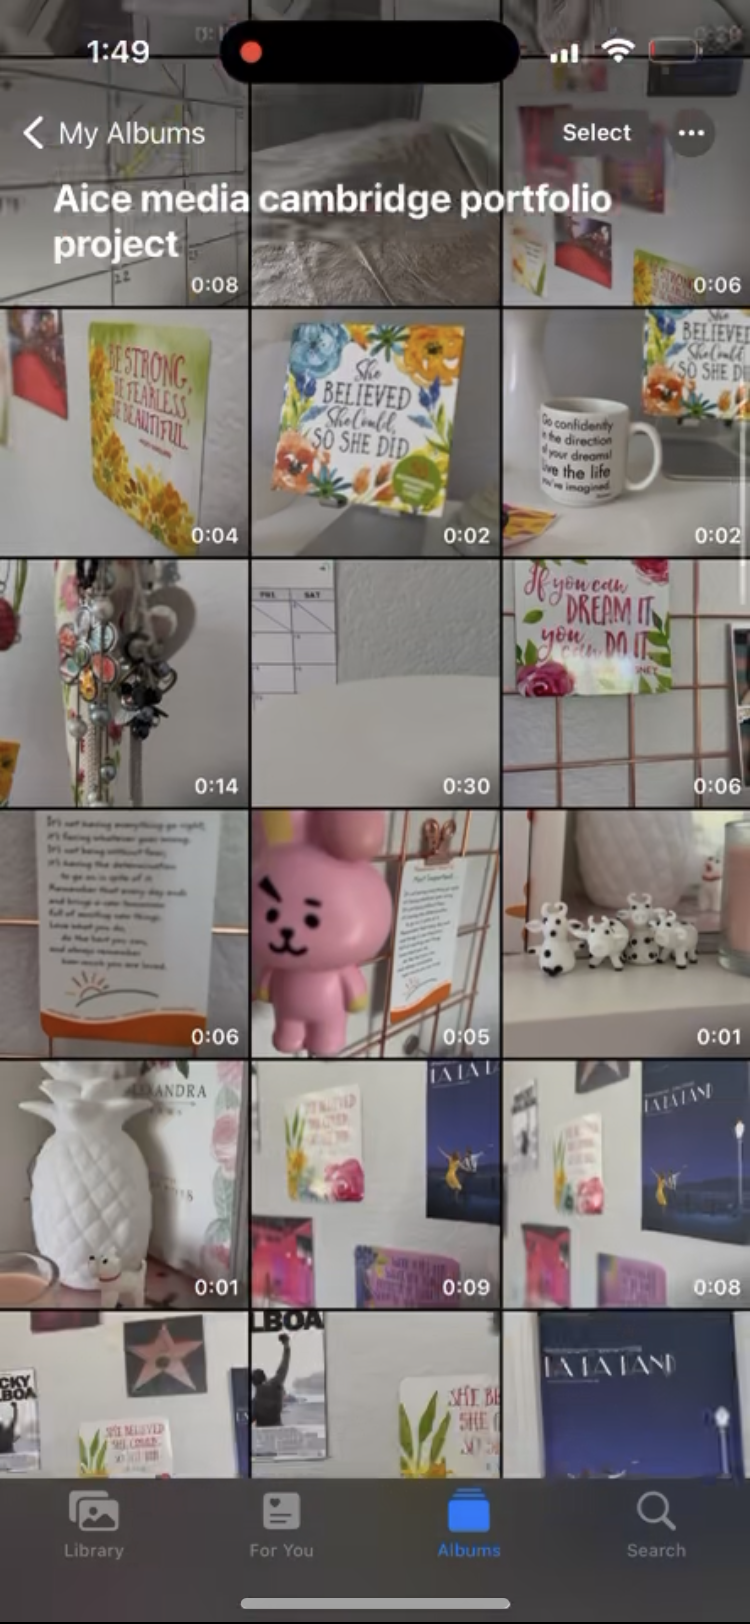
Hey everyone! I am back with new updates on the filming process for the bedroom scenes of the film opening. So, for a recap, I decided to get a head start on filing the bedroom scenes while my partner Natalia is working on location scouting for the theater scenes. I am pleased to say that I was able to shoot the bedroom scenes in under an hour.
I have to give credit for my shot list, as it made this process much faster and more time efficient for me to now focus on the next steps. However, like any production process, I ran through a few minor issues while filming, so I decided to share with you all how I dealt with them, or how I improvised. I will also be sharing a few minor changes in props and explain why I made those decisions. I will be focusing on the two major issues that I ran into. So, let's get started!


Bedroom Scenes Shot List
Hey everyone! I am back with a new update on the journey with the film opening project. This will be a continuation of my last post, as they are both related to the process of the bedroom scenes for the project (I will talk about the theater scenes later). So as you all know, I already introduced the props that will be incorporated in these scenes to represent Stella's personality and dreams.


