The Editing Process
Hey everyone! I am back with an update on me and Natalia's journey through the film opening project. Right now, we have just finished a very important step that brings all of the shots we have together, the editing process! Just a reminder, me and Natalia filmed all of the shots with her iPhone, and we edited everything on her iPhone using the app, Cap Cut. So, let me begin bringing you all along through this process.
Step 1: Making Choices
The very first thing that we did while editing was place all of our shots onto Cap Cut to get an idea of how much content we have, versus how much we can keep. We started with a total of nine minutes, when the maximum length of the film opening can be two minutes. This was definitely overwhelming to work with, considering how much we had to remove, but I feel that it is better to have more than less content. Me and Natalia looked over the clips several times, and each time we deleted shots that we feel are repetitive or added little to no significance to the story.
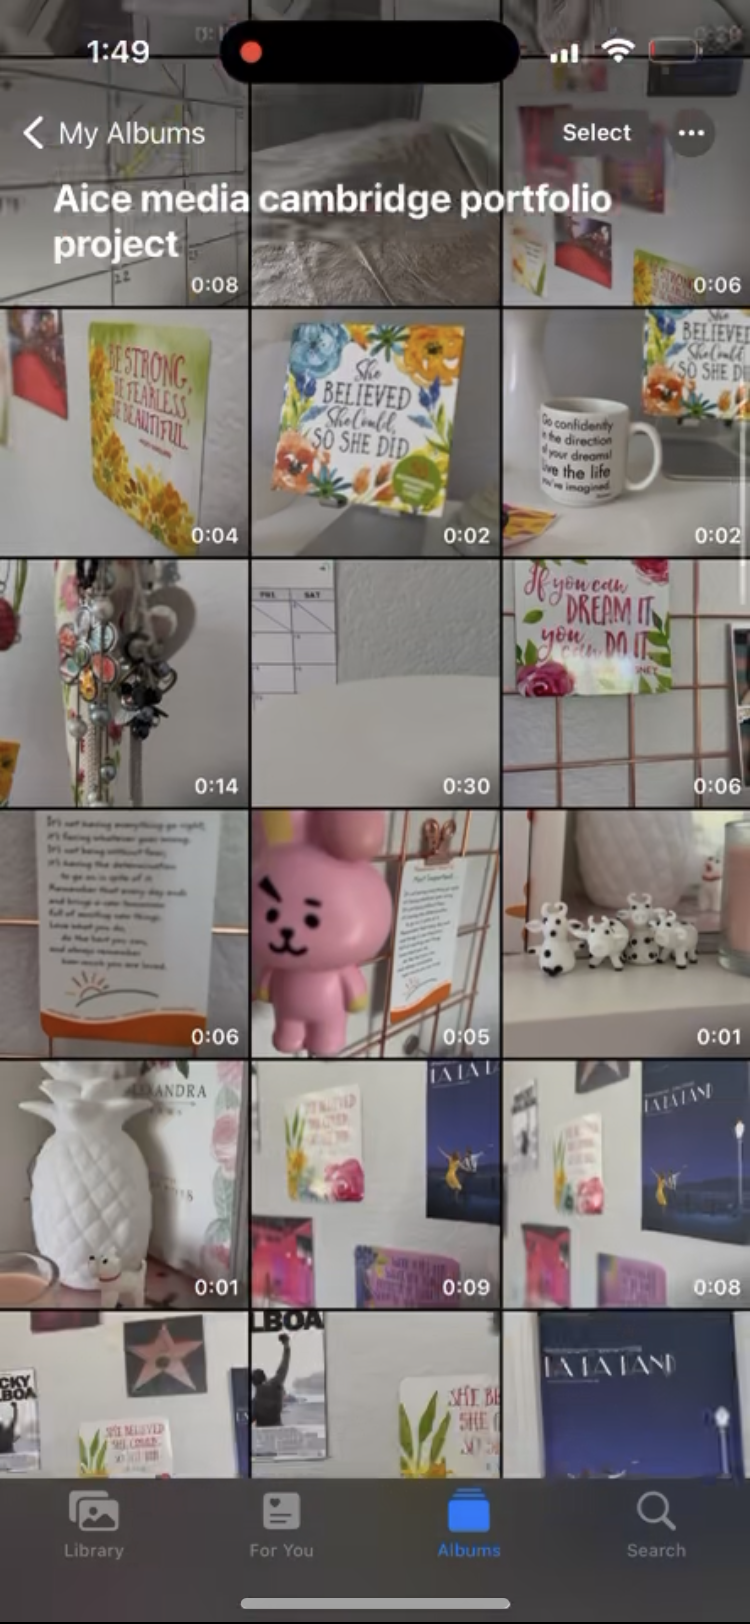


These are screenshots of all of the shots we had for the project, and many of them are lengthy, which made much more difficult to choose was should go and what should stay.
After a while of contemplating what we should keep, we ended having the project be under 2 minutes, which was the goal, since the addition of the credits would add more time to the project. So, now that we have chosen which clips to keep, we then had to establish the order of these shots...
Step 2: Establishing the Order
Establishing the order of the shots was also a very time-consuming process, since there were many orders that we could go about choosing. To approach this idea, we first discussed which shots would belong in the beginning, the middle, and the end. This would help lessen the amount of content we have to work with, making everything clearer. Think of it this way:
Beginning: Credits, Close ups of Stella
Middle: Documentary scenes/ interview sections
End: Stella's emotional scenes, title insert, bedroom scenes
After doing so, we then just experimented with the order, and then watch the video over and over, until we found the best option that we both agreed on. When we finalized our decision on the order, we added some fades to a few transitions between any shots showing Stella to give off the idea that lots of time is passing.
Step 3: Credits/ Title
Once we had all of the shots in place with the right transitions placed, we knew that the film opening needed credits and a title. To start with the credits, we knew that we needed to mention the following...
- Producer
- Director
- Cinematographer
- Editor
- Writer
- Main Actors
For these credits, me and Natalia put both of our names for all of them except main actors, since I did not show my face on camera. We paid special attention to our font choices for the project, as Cap Cut has a large variety of fonts to choose from. Below is a screenshot of just a few of many fonts that we were able to choose from...

Moving on to the title, we wanted to make it stand out, make it seem more dramatic. The title is Stella, the main character's name, which also means "star." For the color of the font, we chose yellow, since that is usually the first color that one thinks of when thinking of a star. Also, yellow is associated with happiness and pleasure, which in Stella's character, is challenged throughout our film.
We also decided that it would be best to insert this title within an extreme long shot of Stella sitting by herself in the movie theater, as a way to further emphasize the idea that the film will revolve around her only, and her journey of trying to become something more in the acting industry. Below is a photo of what the font looks like over the extreme long shot...

After finalizing the credits and the title, we had the last, yet very important part to this process, being audio.
Step 4: Audio
Once we finalized all of the visual components of the film opening together, we had to work through the auditory components of the film opening. In the film opening, we used both diegetic and non- diegetic audio. Our diegetic audio would be any audio from the film that Stella is watching in our film opening. Our non-diegetic audio would be the score that can be heard throughout the film opening. We first wanted to tackle the audio that deals with the documentary/ interview scenes from the film that Stella watches.
Due to background noises heard during the shots we filmed, we had to use a separate device to capture audio, meaning that we had to sync the visual shots to the audio of the interview. We had to transfer the audio over the video, and keep moving the audio by seconds, until we were able to perfectly sync them together. This did take a while to perfect, since we wanted to ensure that it looked like the actress was really speaking directly from the video.
We then decided to take separate audios from the same "interview" and place it as a voice over that plays across the film opening during the close-up shots of Stella. This way, the viewer would know that Stella is already watching the film and can understand what it is exactly that the actress said that moved, Stella. The voice over also adds a nice touch to the overall production, considering how empty it sounds, even with the score in the back.
To add in the score, we had to create layers of audio so that the voice overs and the score wouldn't clash with each other. Below is a picture of what the layers looked like...

Now you might be wondering, "Where did the score come from?" The score that we chose comes from a website that offers a variety of tracks that are copyright free music, called Uppbeat.io. One aspect of this website that we truly appreciated was it its organization; it was very easy to find an audio that suits our video, as below each track there were two words that described them. Below is a screenshot of how this looked like...

To choose the audio that we were both satisfied with, we played each track we saw and after a few seconds, we said our opinions. Once we found a track that we were both satisfied with and felt suited the film opening, we added it to our film opening. For the intro of the film where the credits are, the score was slightly louder than in the rest of the opening, because we were concerned about the score being overwhelming and blocking the voice over. After inserting this audio and adjusting the volume, we officially completed the film opening project!
Anyways, editing is quite a tedious process, but it is definitely an important one. That is why I felt it was important to explain each step, to clarify how exactly we went about each part of the process. This concludes the work for the film opening project, as I now have to work on my Creative Critical Reflection (CCR).
Stay tuned for my next update on the Cambridge Portfolio Project, as I move along to work on my CCR!
References
“Free Music for Creators.” Uppbeat.io, uppbeat.io/?rt=ppc_bing_search_general_usa&utm_source=bing&utm_medium=cpc&utm_campaign=search_general_usa&utm_content=&utm_term=copyright%20free%20music&msclkid=b5d57820d69b19e303d21c3bbb816e2a. Accessed 22 Mar. 2023.


No comments:
Post a Comment